Running the BLLIP parser’s GUI parsing shell involves installing several command line tools and can be troublesome for non-Linux platforms … until now! Thanks to Docker running almost any kind of Linux software on almost any platform can be super simple. Even if the application you need isn’t already “dockerized”, using Docker means that things that “just work” on Linux will “just work” for you too!
Here’s a brief demonstration video:
This demonstration is on Mac OS X but the process is similar for Windows or Linux. The first step is installing Docker : all platforms, Mac OS X, Windows (the last two include videos). With that done, you only need a few simple commands to start the ParsingShell or other BLLIP parser Python scripts. So open a Terminal window and enter:
1
| |
The -it means “interactive + terminal” mode, the --rm means “remove this container after this command exits”, the -p 5901:5901 makes TCP port 5901 accessible (we’ll be using this to access graphics from inside the container using VNC), and the jimwhite/bllip-parser-python means load the Docker image I’ve put on the Docker Hub Registry here. Because the image contains most of Ubuntu the size is about 1.2G and so may take a few minutes to download the first time.
Docker will run the image in a container and the initial command here is another shell and so you’ll see a Bash prompt, although from Linux here.
1
| |
At this point if you want to use the command line (CLI) then you could enter the Python commands for the parser wrapper just as they’re shown on the PyPi web page. To use the GUI though we need to start a VNC server by entering ./runvnc.sh like this:
1 2 3 4 5 6 7 8 9 10 11 12 13 | |
That prompts for a password to secure the VNC server (which won’t actually be used in this setup and can be anything of at least six characters) and then starts it.
Now you need to open a VNC client, which on Mac is easy since there is one built in. For Windows you’ll need to install additional software like TightVNC. One way to use the built-in Mac OS X VNC client is to open new Terminal window (command-N) and use the open command. I show here checking for the Boot2Docker VM IP address and then opening the VNC client:
1 2 3 4 5 | |
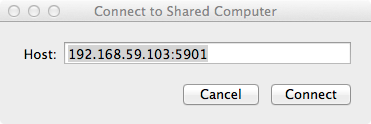
Or you can enter that URL in Safari’s location bar:

That will ask for confirmation:
Then show the initial Ubuntu desktop with an LXTerminal window opened for you:
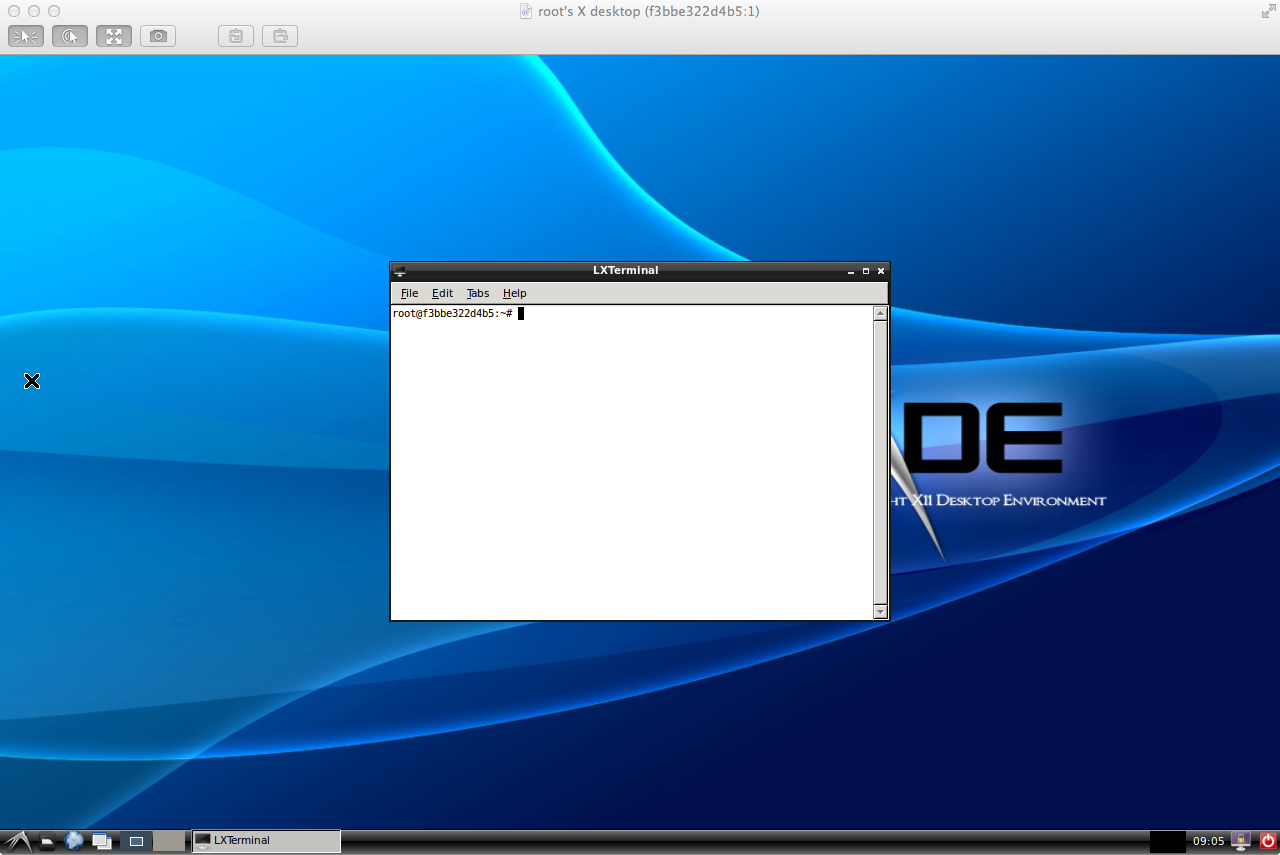
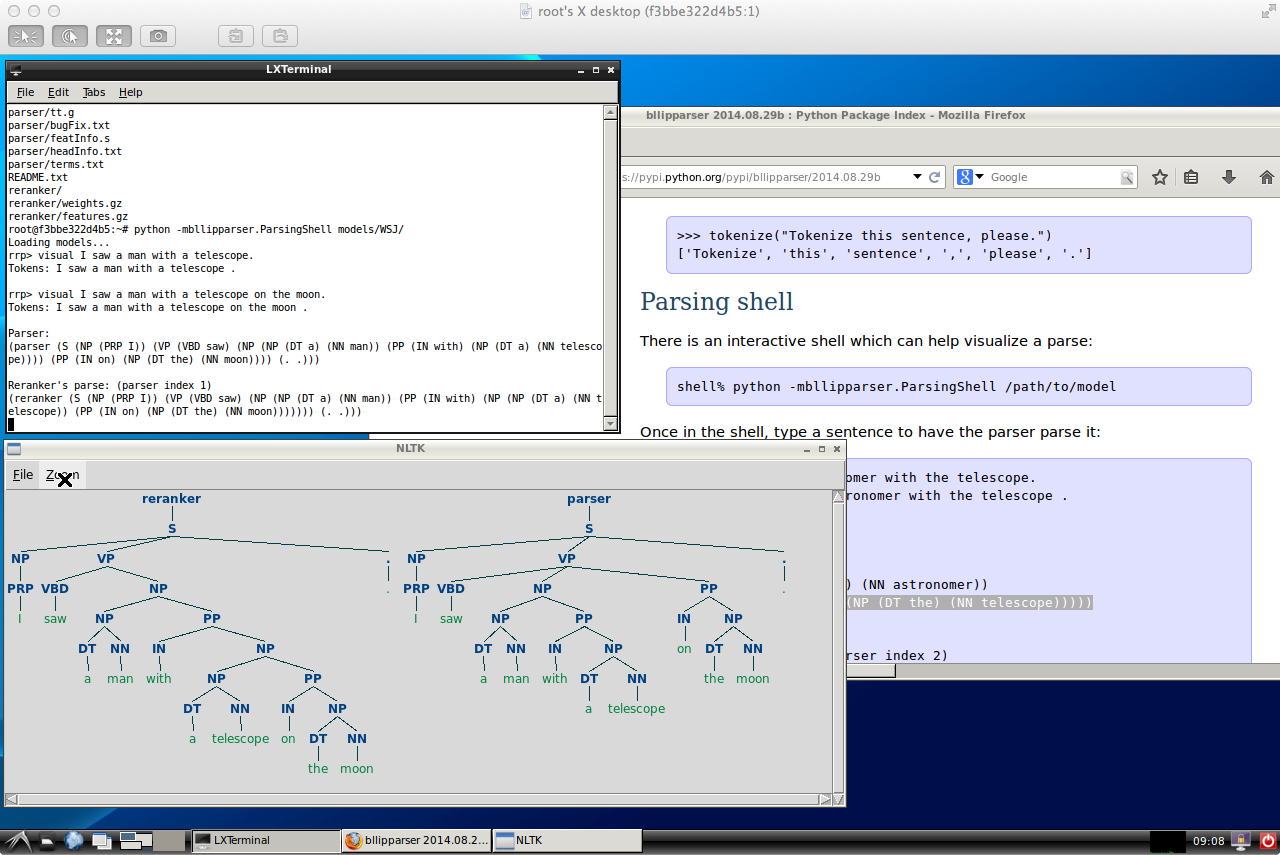
Use that terminal to enter the Python commands for the parsing shell. Firefox is available inside the container because you can’t copy & paste outside it in this setup (icon for the web browser is in the lower left).
When you’re done, just return to the Docker container’s prompt and exit:
1 2 3 | |